
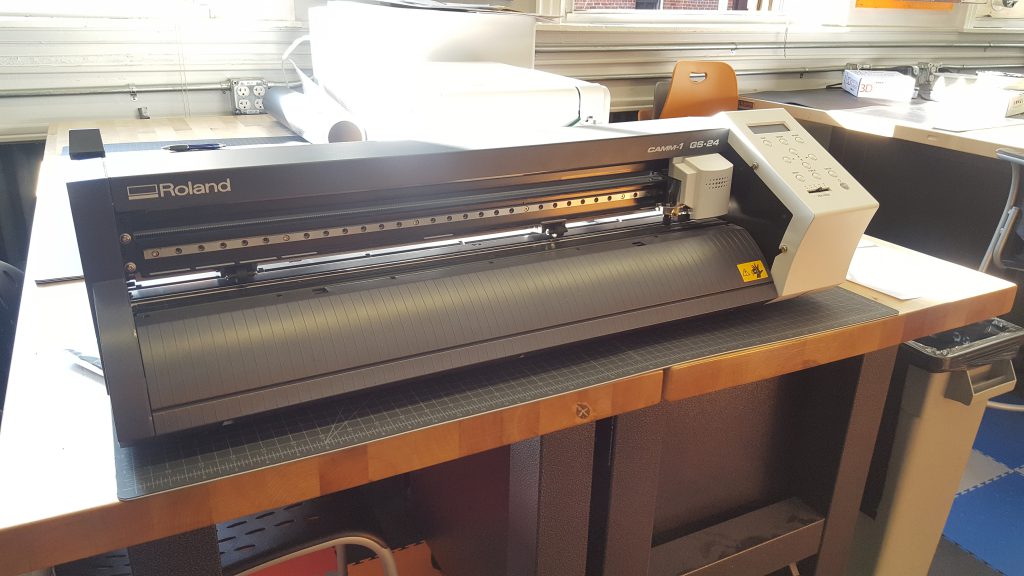
This is a vinyl cutter.
To succeed in using the vinyl cutter, follow these steps:
Step 1: Check your design.
Is it ready to cut? Are you sure? Here are some common things to watch out for:
- Make sure the design is selected. The vinyl cutter only cuts what is selected. Make sure that you have selected your design in Adobe Illustrator before moving to the vinyl cutter.
- Look out for hidden lines. Sometimes, designs include extra lines that, when selected, can interfere with your design. Only select the lines in your design you want the vinyl cutter to cut.
- Printing for clothing? Make sure you remember to flip your design within Adobe Illustrator. Otherwise, when you start heat pressing designs onto clothing, it will come out BACKWARDS!! Double check to make sure it is flipped before cutting.

Step 2: Check your material.
Make sure your piece of material is an even rectangle. If you plan to cut a lot of designs at once, make sure that you are using your material efficiently.
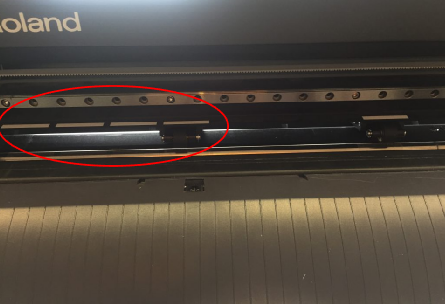
Step 3: Position the rollers.
Rollers must be positioned under the white tape, with one roller under one of the four leftmost sections of white tape.
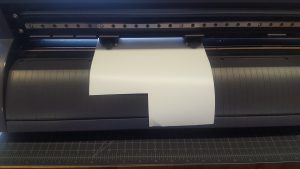
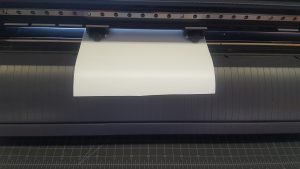
Step 4: Position your material.
The material should be parallel with the vertical lines at the base of the vinyl cutter. Feed rolls of vinyl into the vinyl cutter from the back of the machine.
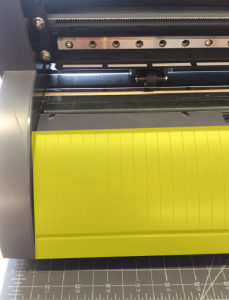
Step 5: Secure your material.
Use the lever to clamp your material into place.
Step 6: Adjust cutter settings.
Select “Piece” when cutting a piece of vinyl, and “Edge” when cutting from a roll. Then, hit “Enter.”

Step 7: Cut your design.
Use Roland CutStudio in Adobe Illustrator to cut your design. Make sure that the correct vinyl cutter is selected. Here are the vinyl cutter names by site:
- Madison Park: Roland GS-20 in the main classroom; Roland GX-20 in the Fab-Lab
- Makerspace: Roland GX-20 at the Makerspace
- Sellers Street: Roland GS-20 in the MakerLab
Need more info? Want more detail about something? Check out the other vinyl cutter articles on MakerHub!
Comments